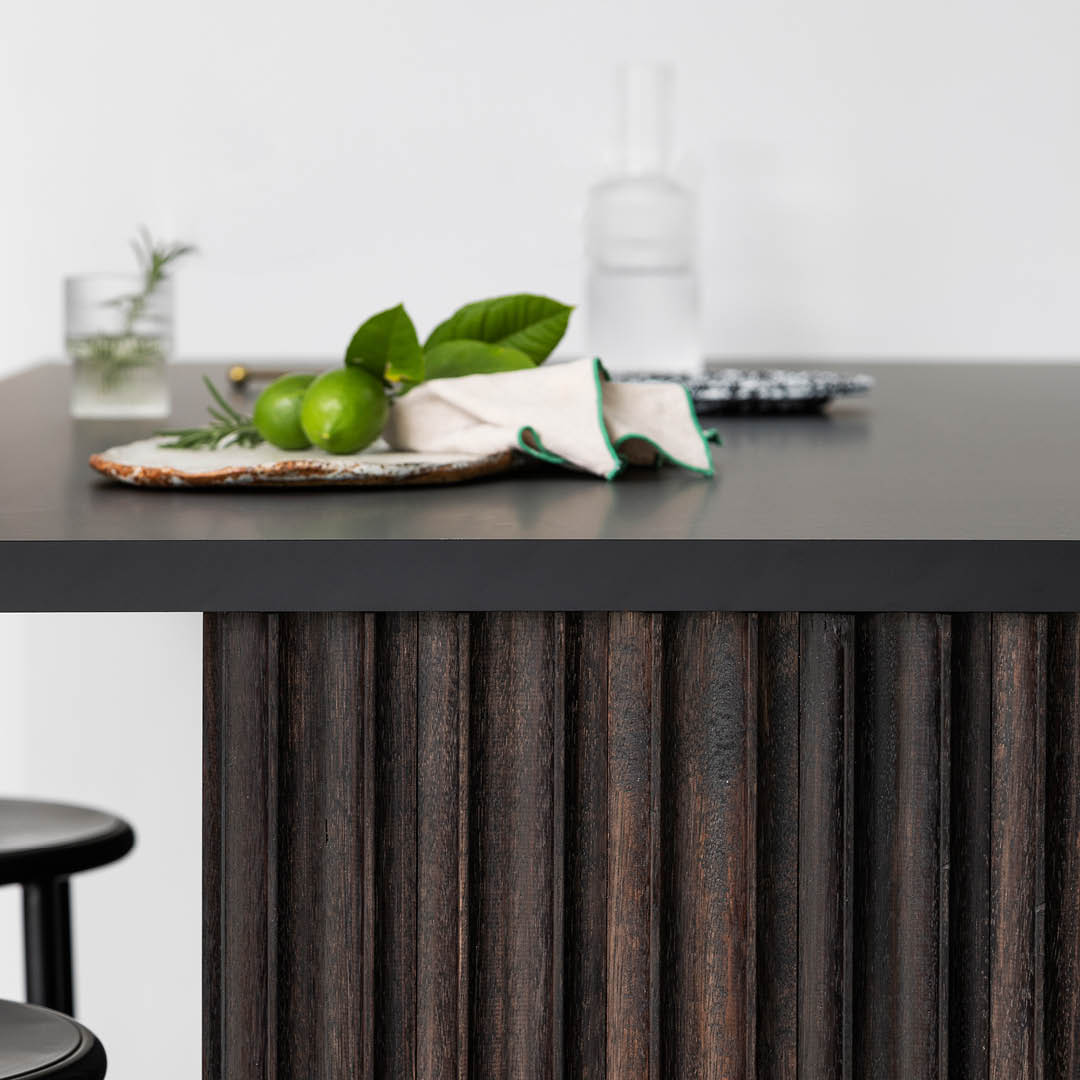
Transform your kitchen in a weekend with Porta Contours and Kaboodle Kitchen.
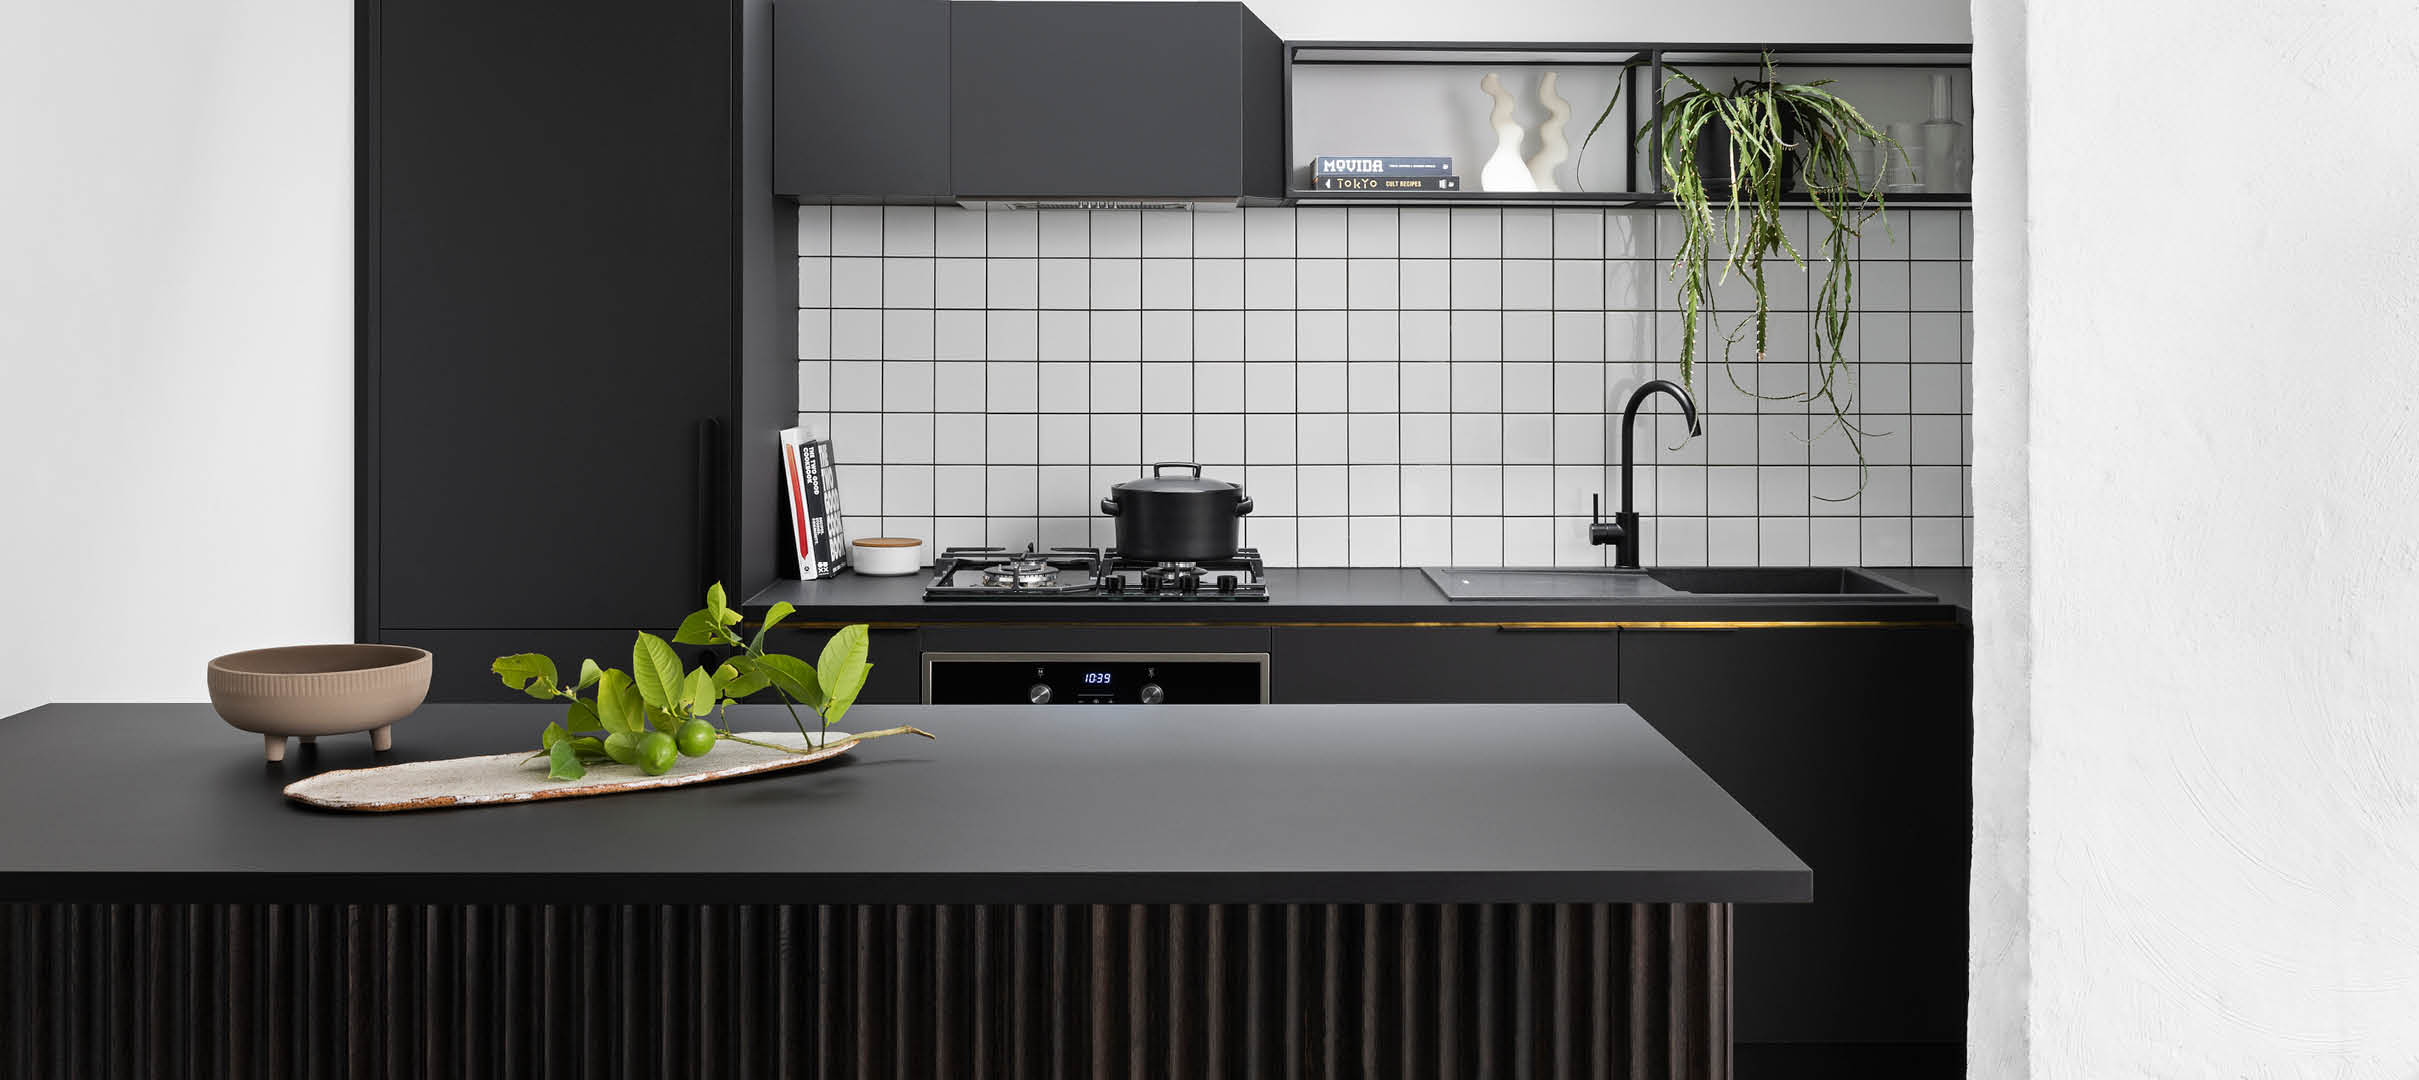
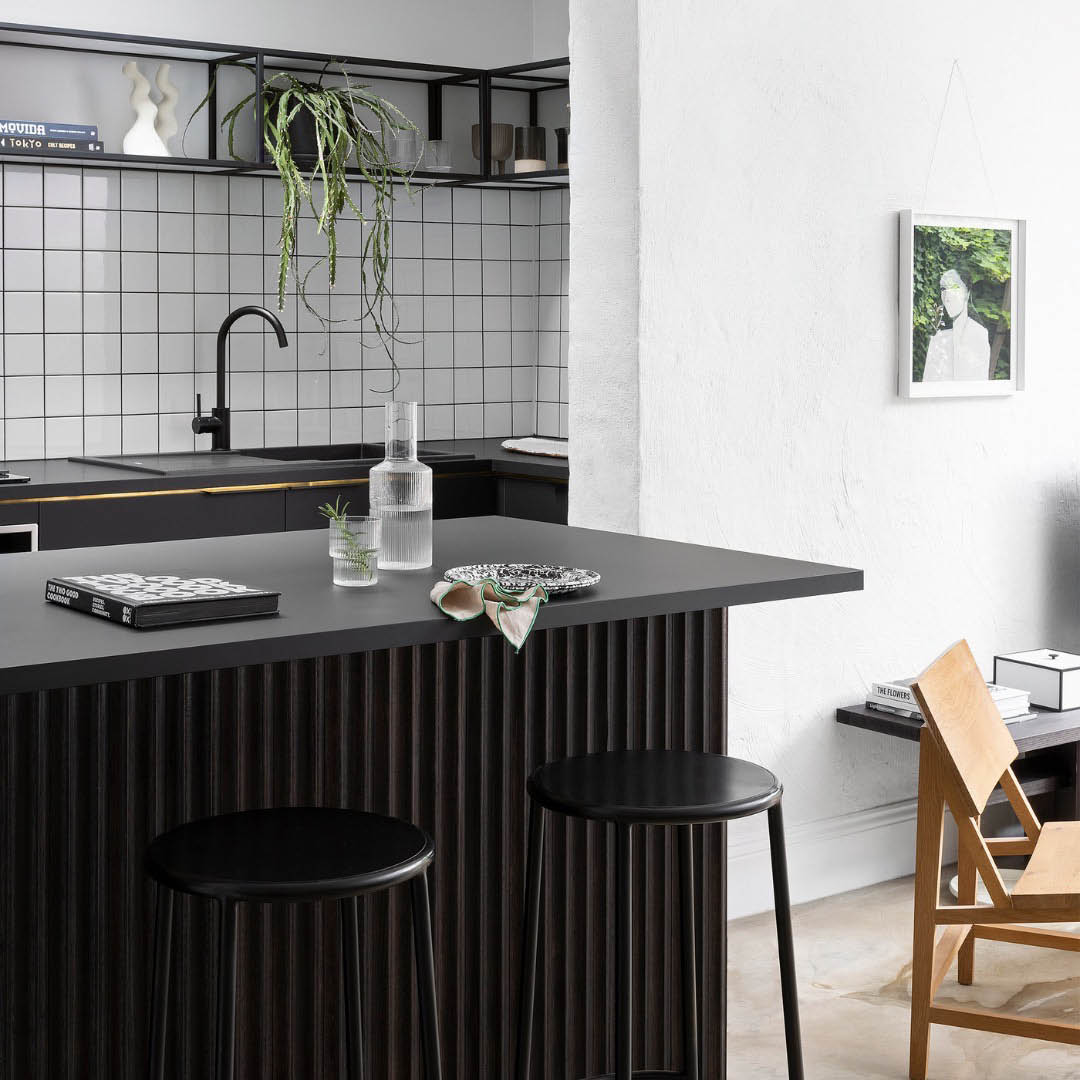
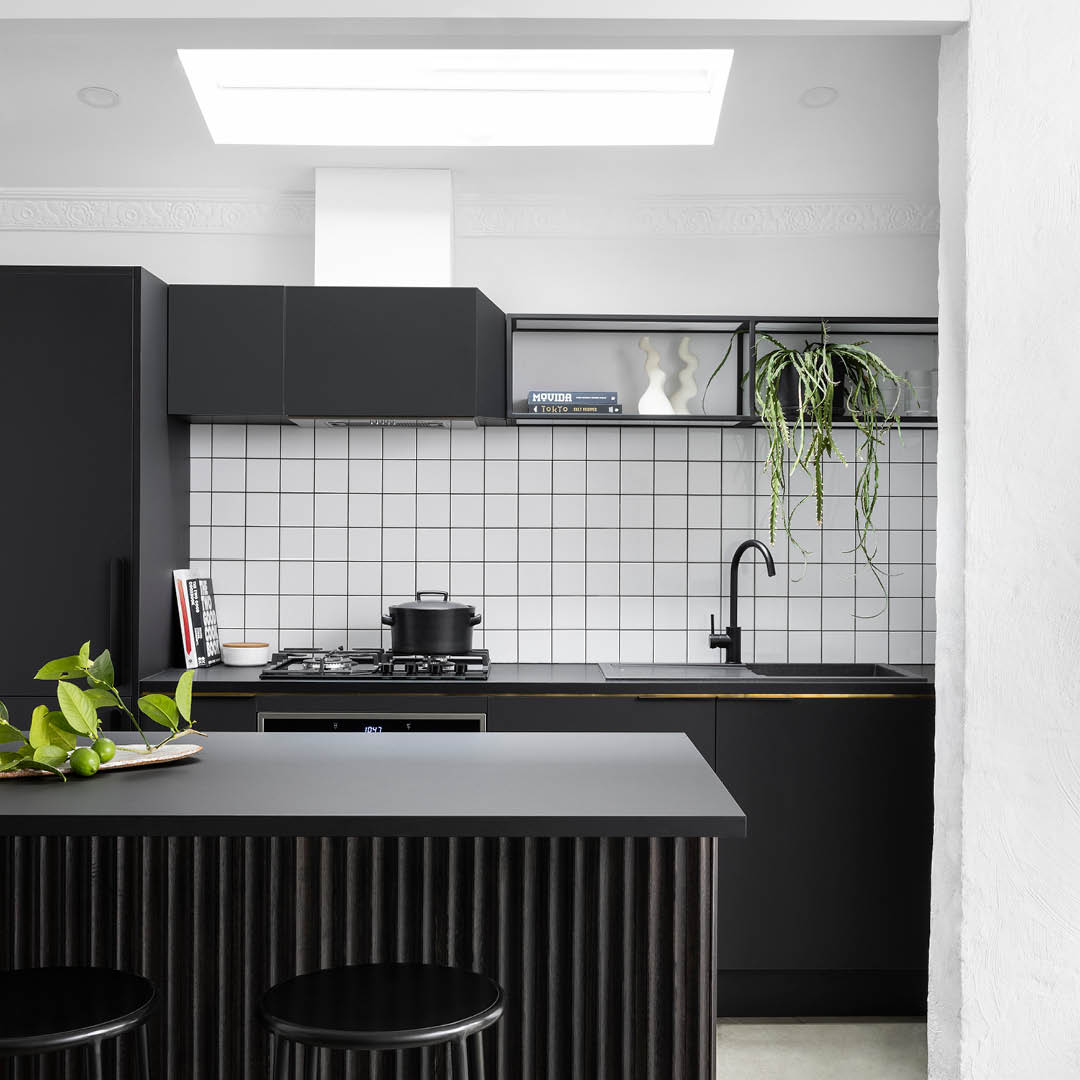
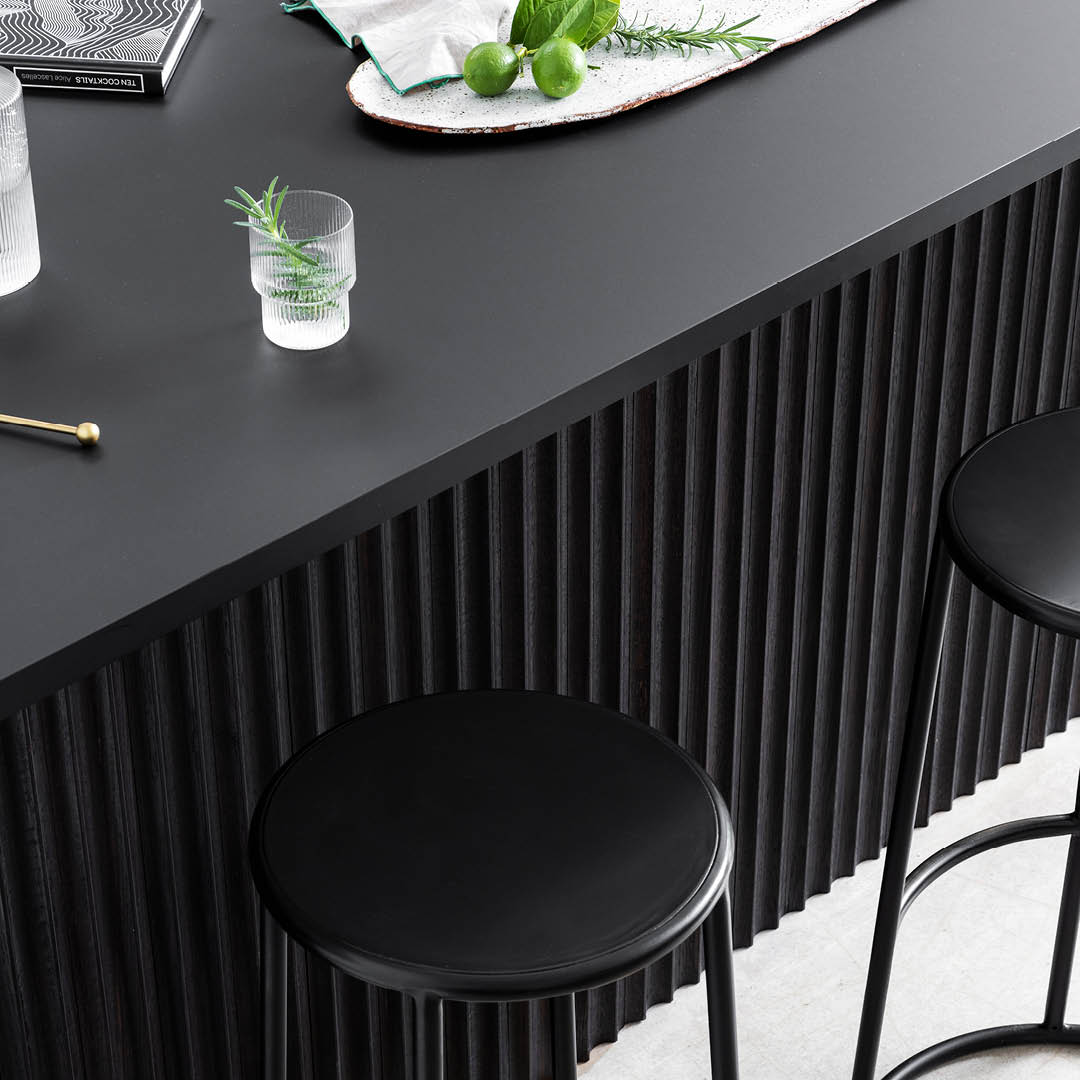
By updating your benchtop and adding beautiful Porta Contours timber lining boards, you can transform the look and feel of your kitchen without undergoing a complete renovation.
DIYer Tom revived his kitchen island in a few simple steps, adding warmth and texture.
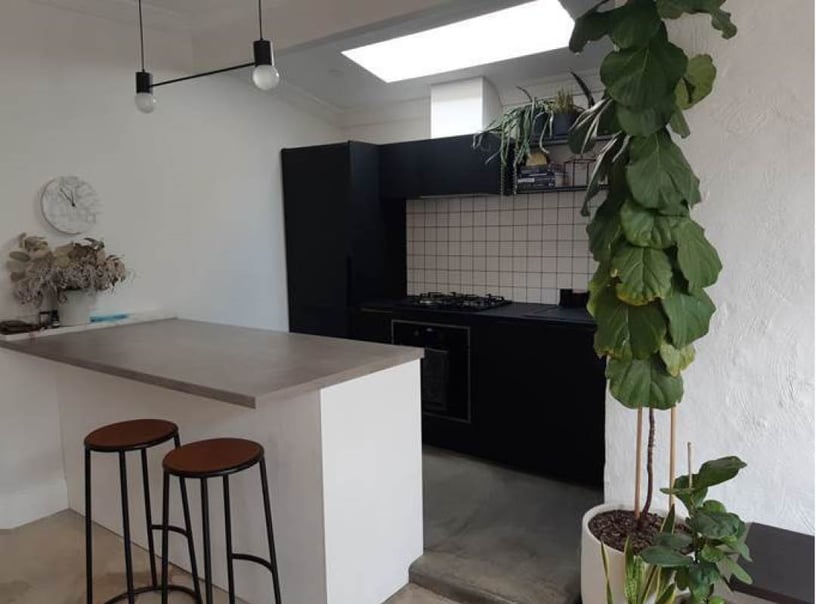
Tom's current kitchen worked well, but the island needed updating to complement the cabinetry on the back wall.
Step 1
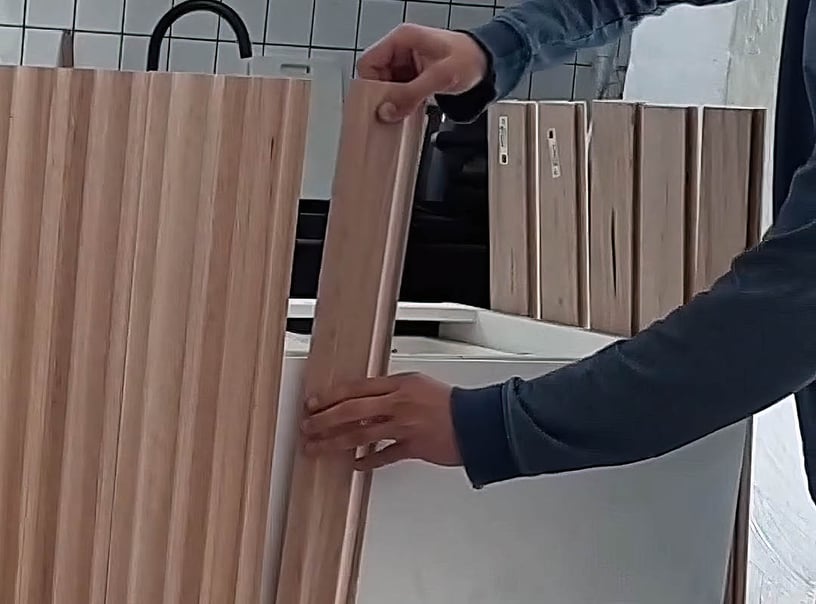
Remove your old benchtop and lay out the Contours prior to installation to see what they look like. Timber is a natural product and there will be a variation in colour and grain.
Step 2
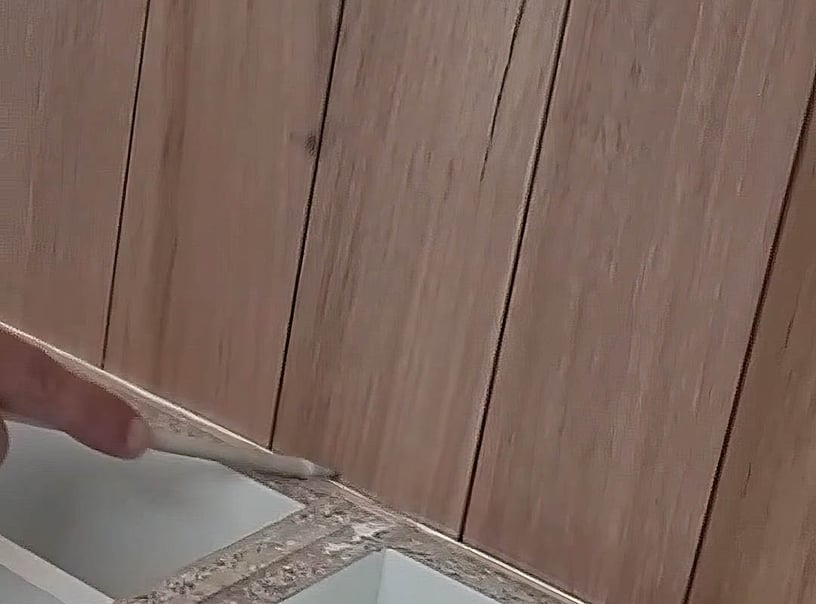
Run a pencil line along the Contours to mark where to cut each lining board. Then carefully number each board.
Step 3
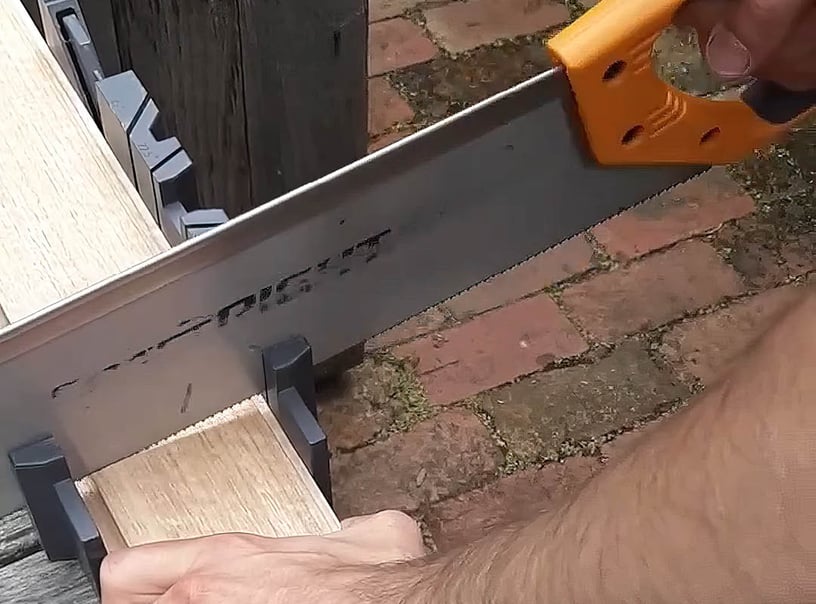
Cut the Contours timber lining boards to length.
Step 4
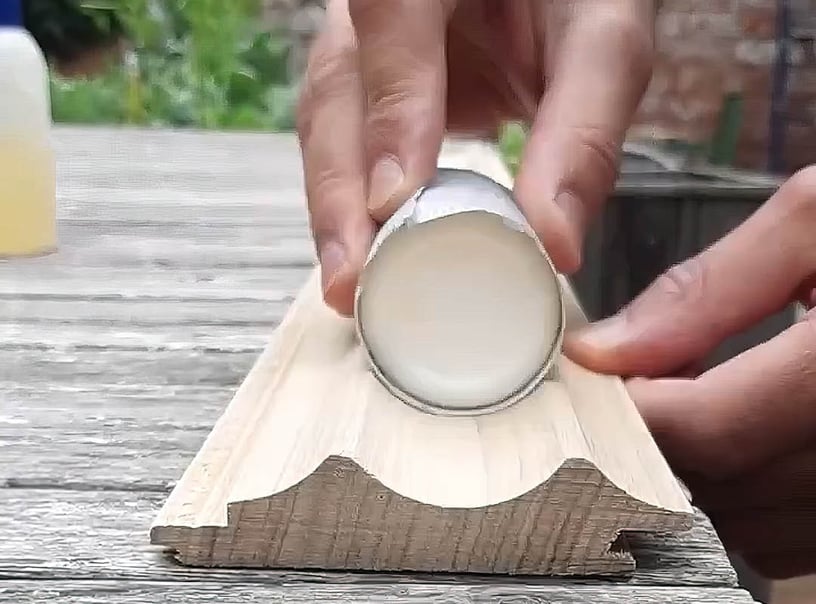
Lightly sand each lining board with the grain. Tom used a glue bottle as a sanding block.
Step 5
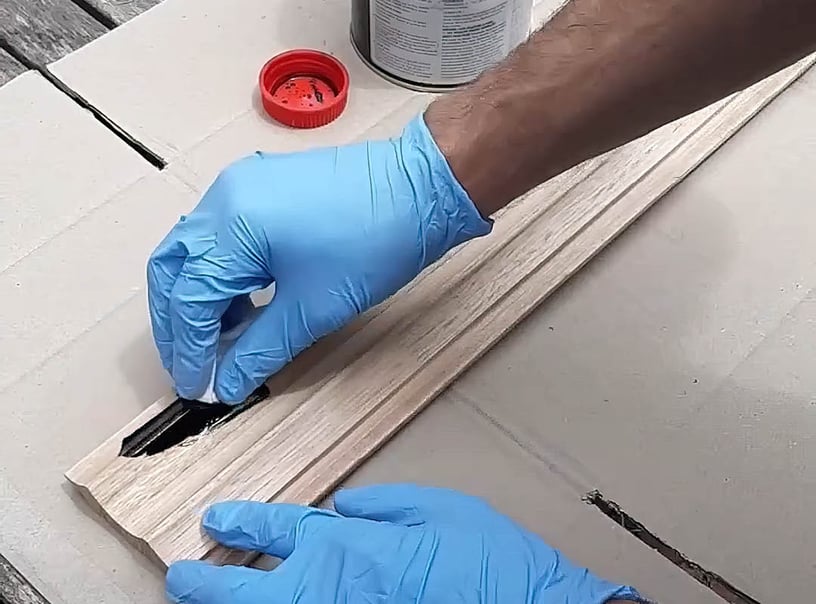
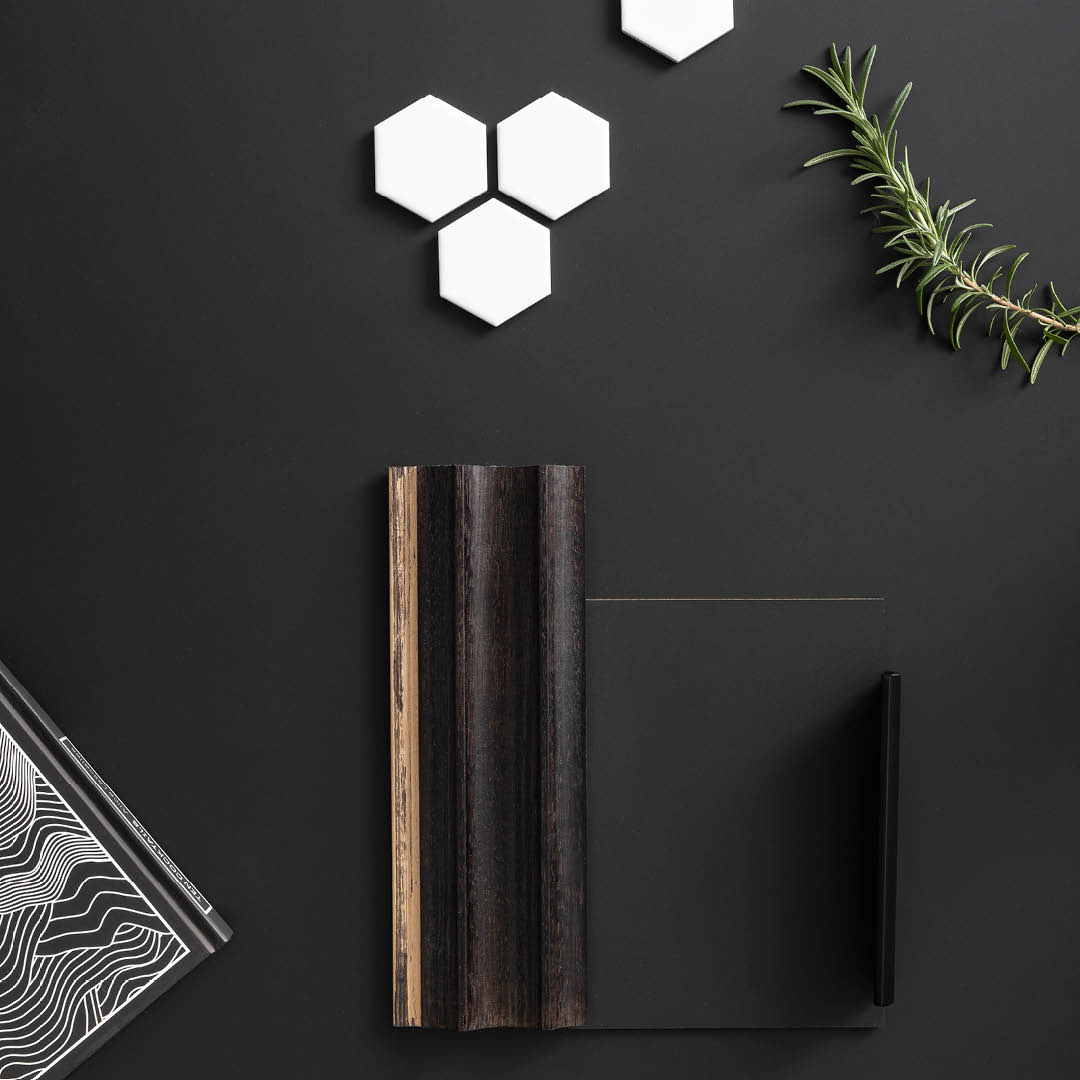
Stain or paint the Contours prior to installation to prevent build up and adhesion of the paint or stain at the joint and overlaps. Tom selected a black stain to match his new Kaboodle Molasses benchtop and existing black cabinetry. The Contours were then finished with Kaboodle Clear Hardwax Oil.
Step 6
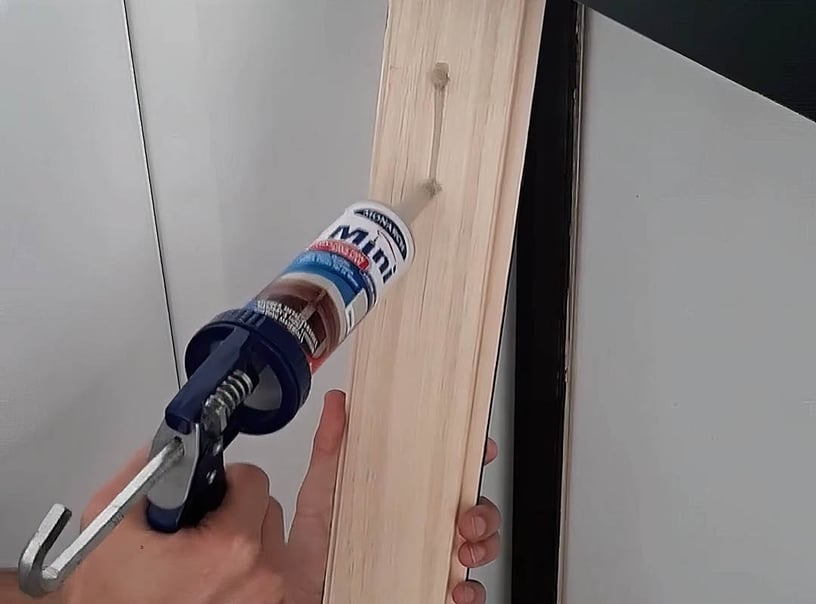
Apply a line of construction adhesive to the back of the timber lining board.
Step 7
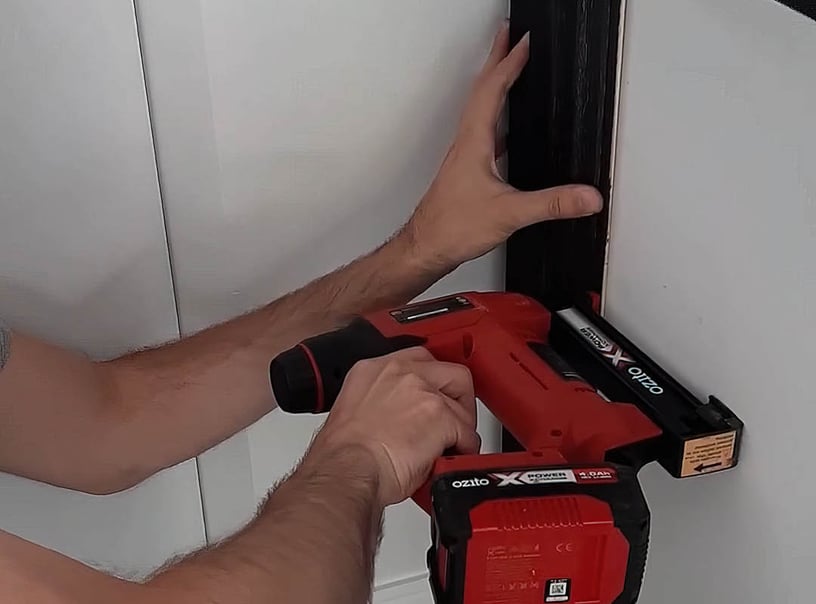
Face fix the initial board and then secret fix through the tongue of subsequent boards. Affix with Brad nails (40mm x 16g) with 450m spacing along the length of the boards.
Step 8
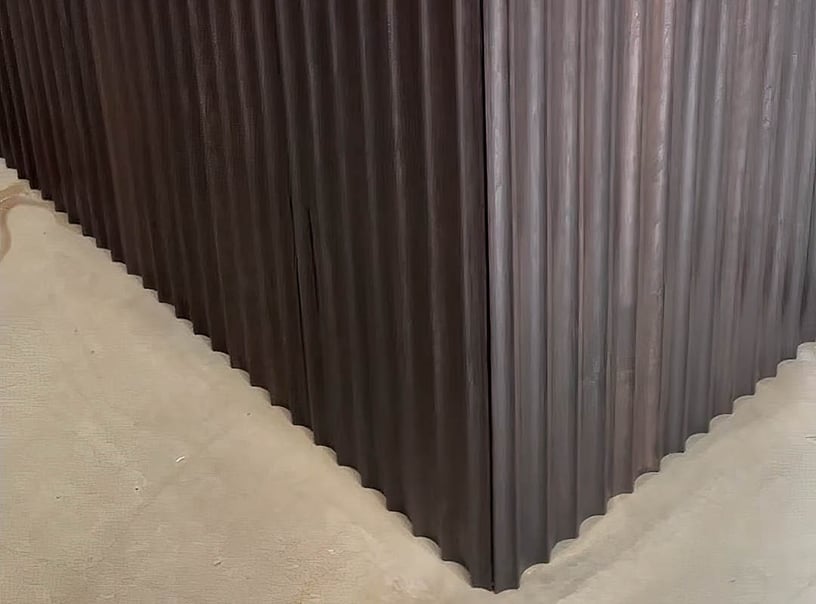
Finish external and internal corners with Porta Dressed All Round (DAR4221 or DAR2121) as corner blocks or trim to a mitred finish.
Step 9
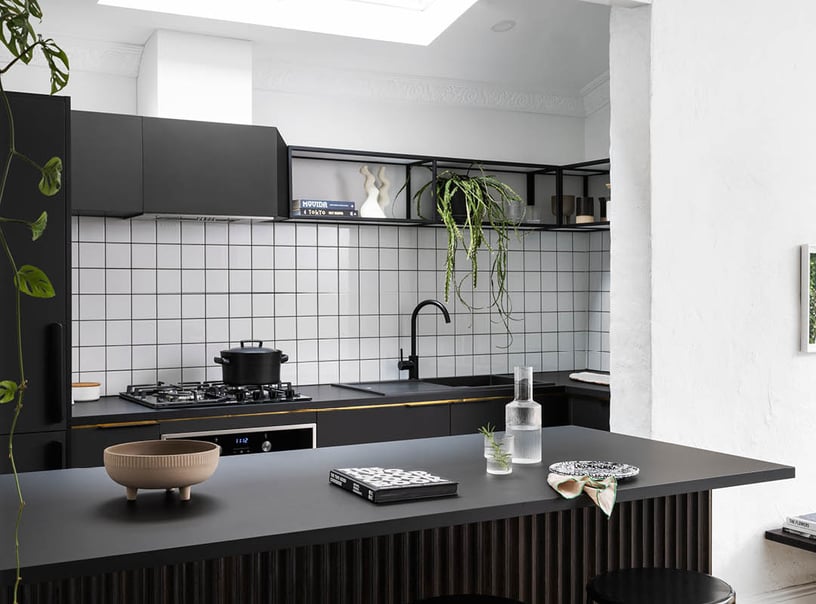
Attach the new benchtop with construction adhesive and screw into place.
Featured Project:
DIY: Kitchen Island Refresh with Porta Timber
Product: Porta Contours, Cirque, in Tasmanian Oak finished with a black stain and Kaboodle Clear Hardwax Oil
Benchtop: Kaboodle Molasses
Mini Masterclass: Sign up to the Kaboodle Mini Masterclass where Tom takes you step-by-step through his complete island restoration project

