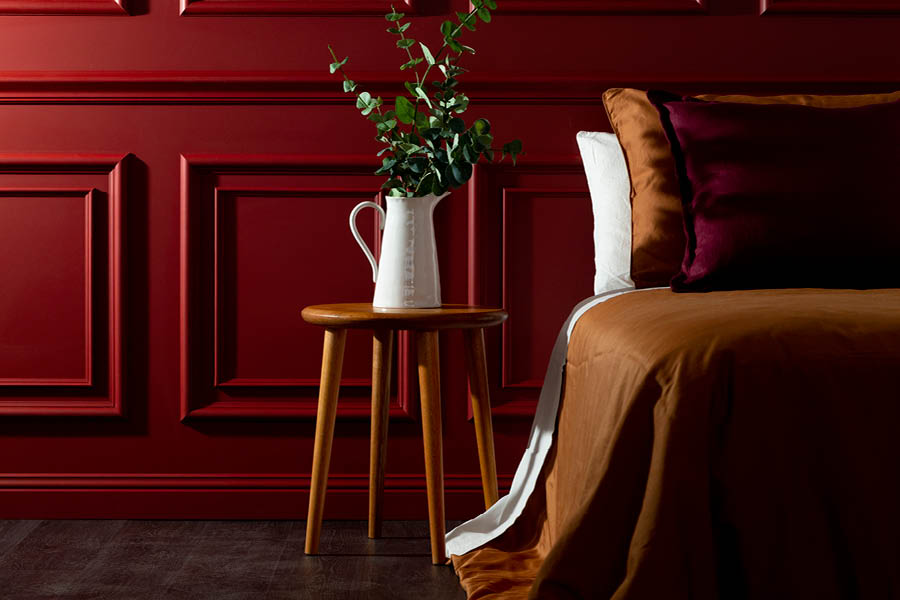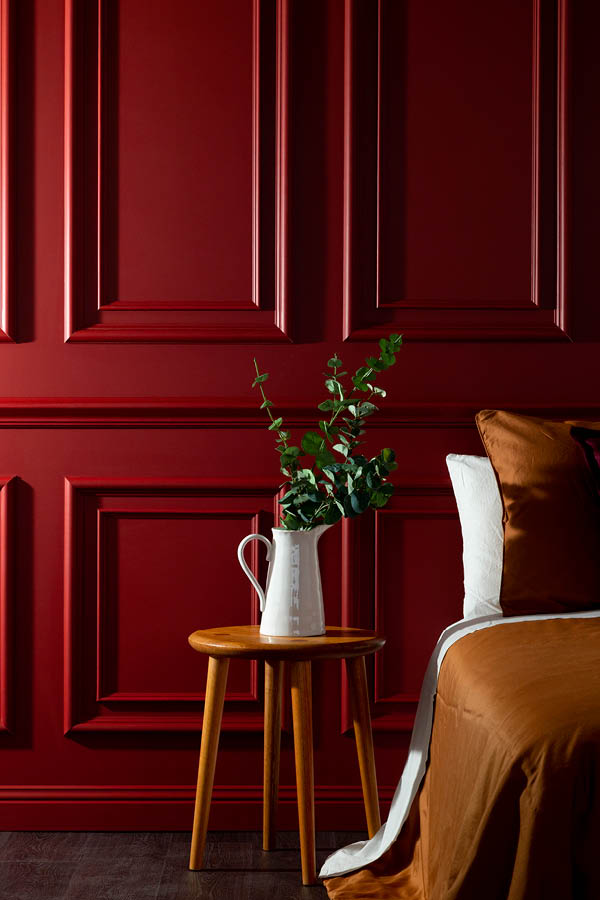
Embrace romantic period features with a contemporary twist.
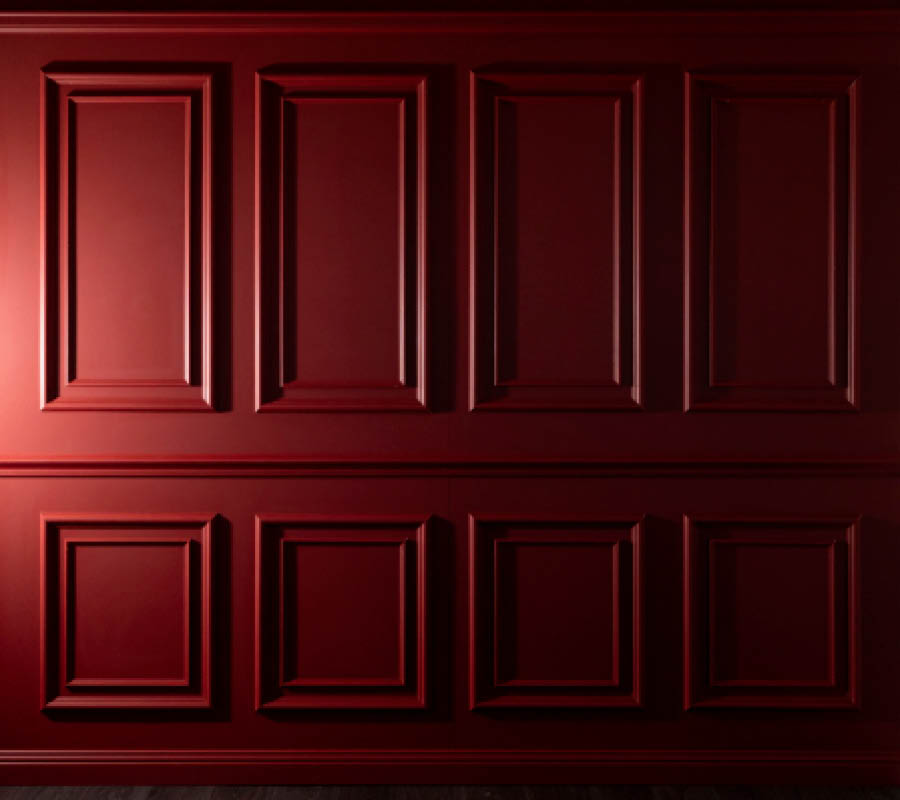
Embrace romantic period features, such as decorative wall trim, and give it a contemporary twist to add depth, dimension and elegance to a plain wall. For a more grand and dramatic look, paint the mouldings in a darker shade of your favourite colour.
Different effects can be created with decorative wall mouldings to influence the overall look and feel of a room. Tall, narrow rectangular spaces will make the ceiling height feel higher, and producing shorter, wider spaces will make the room feel wider.
Decorative walls mouldings not only look great, but they can be hard wearing and durable too. Mouldings such as Chair Rails and Dado Rails are also extremely practical - protecting walls from the knocks and dints caused by chairs.
Creating a beautiful feature Grande Dame wall is easier than you think. Porta decorative wall mouldings are available in a range of profiles, sizes and timber species.
Styling Tip
Style the romantic period design with bold oranges, rust and copper pieces.
To get started:
- Measure the width and height of each wall in the room to be decorated.
- Sketch a design - you can create square or rectangular Panel and/or Insert Mould designs at a size that suits you. A good idea is to keep the squares or rectangles the same size and the spacing between each the same. This will produce a consistent overall design.
- Select your mouldings – they can be decorative or plain in design. When purchasing, allow for cutting and joining.
- Pre-cut your mouldings to size, allowing for mitred joins around corners.
- Prep the wall and mouldings - we painted the walls and mouldings in Dulux Belly Fire.
- Install the mouldings - use a spacer for consistency. To install Panel and/or Insert Moulds, glue and fix the bottom moulding into place, followed by the side pieces and finish with the top piece.
Handy Tip
To get your chair rail height, place your chair against the wall and mark where it hits the wall - the rail should be centred at this level. Alternatively, place the chair rail on the bottom third of the wall (if it is placed too high, it can make the ceiling look low).
Did you know?
Chair rails were originally designed to protect walls from the damage inflicted by the backs of chairs. Nowadays, the chair rail serves a more a decorative purpose and can define a room. By encircling the perimeter of a room, different wall treatments can be applied to the top and bottom section, or kept the same, to complement your interior style.
Specifications
Shop Porta mouldings via your favourite hardware retailer. Find your nearest stockist.
Products used:
- 89 x 18mm Crown Cornice in Primed FJ Pine (CWN8918PIFP)
- 65 x 24mm Picture Rail in Clear Pine (PR6524PICL)
- 65 x 25mm Chair Rail Georgian in Clear Pine (GCR6525PICL)
- 40 x 18mm Panel Mould in Clear Pine (PM4018PICL)
- 18 x 11mm Insert Mould in Clear Pine (INS1811PICL)
- 92 x 18mm Colonial Architrave in Primed FJ Pine (COA9218PIFP)
To create a Grande Dame design, view the project sheet below.