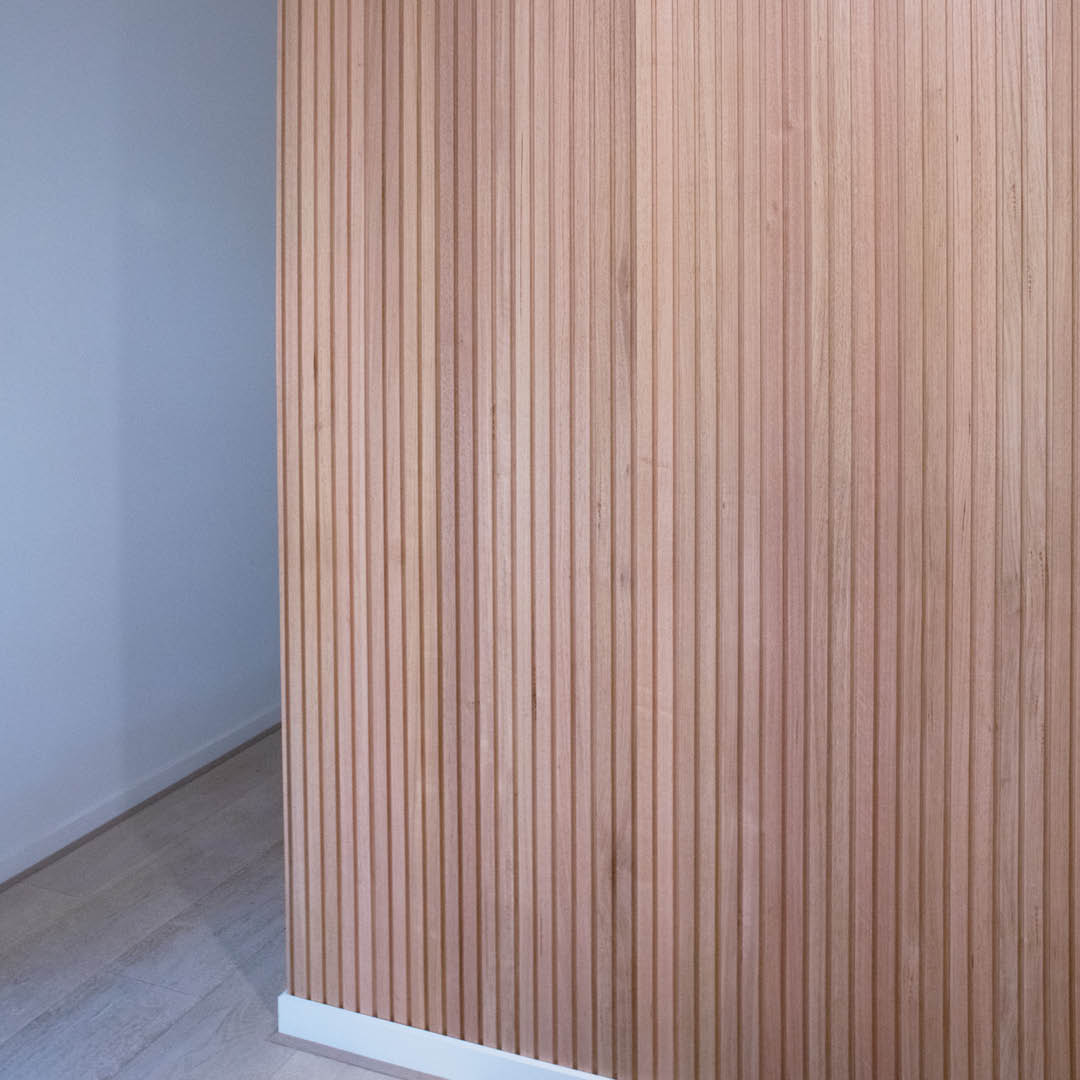
Porta Contours are beautiful timber lining boards designed for straight and curved internal applications. Inspired by the contours of the Australian landscape, Porta Contours add natural warmth, tactile interest, and movement to any space.
Suitable for both new and existing interior spaces, Porta Contours are made from sustainable and responsibly sourced materials and are fast and easy to install by one person. They can be fixed directly onto prepared plasterboard, timber, steel, brick, or masonry wall surfaces.
Contours are available in a range of textured designs to create calming atmospheres or vibrant patterns. Made from durable, solid, and engineered timber, Contours are available in a range of species, including:
- Tasmanian Oak – a superb, native Australian hardwood.
- Engineered American Oak – a stunning North American hardwood.
- Clear Pine – a light softwood that is ideal for painting and staining.
- Pre-Primed Pine – a finger-jointed pre-primed pine that is perfect for painted finishes.
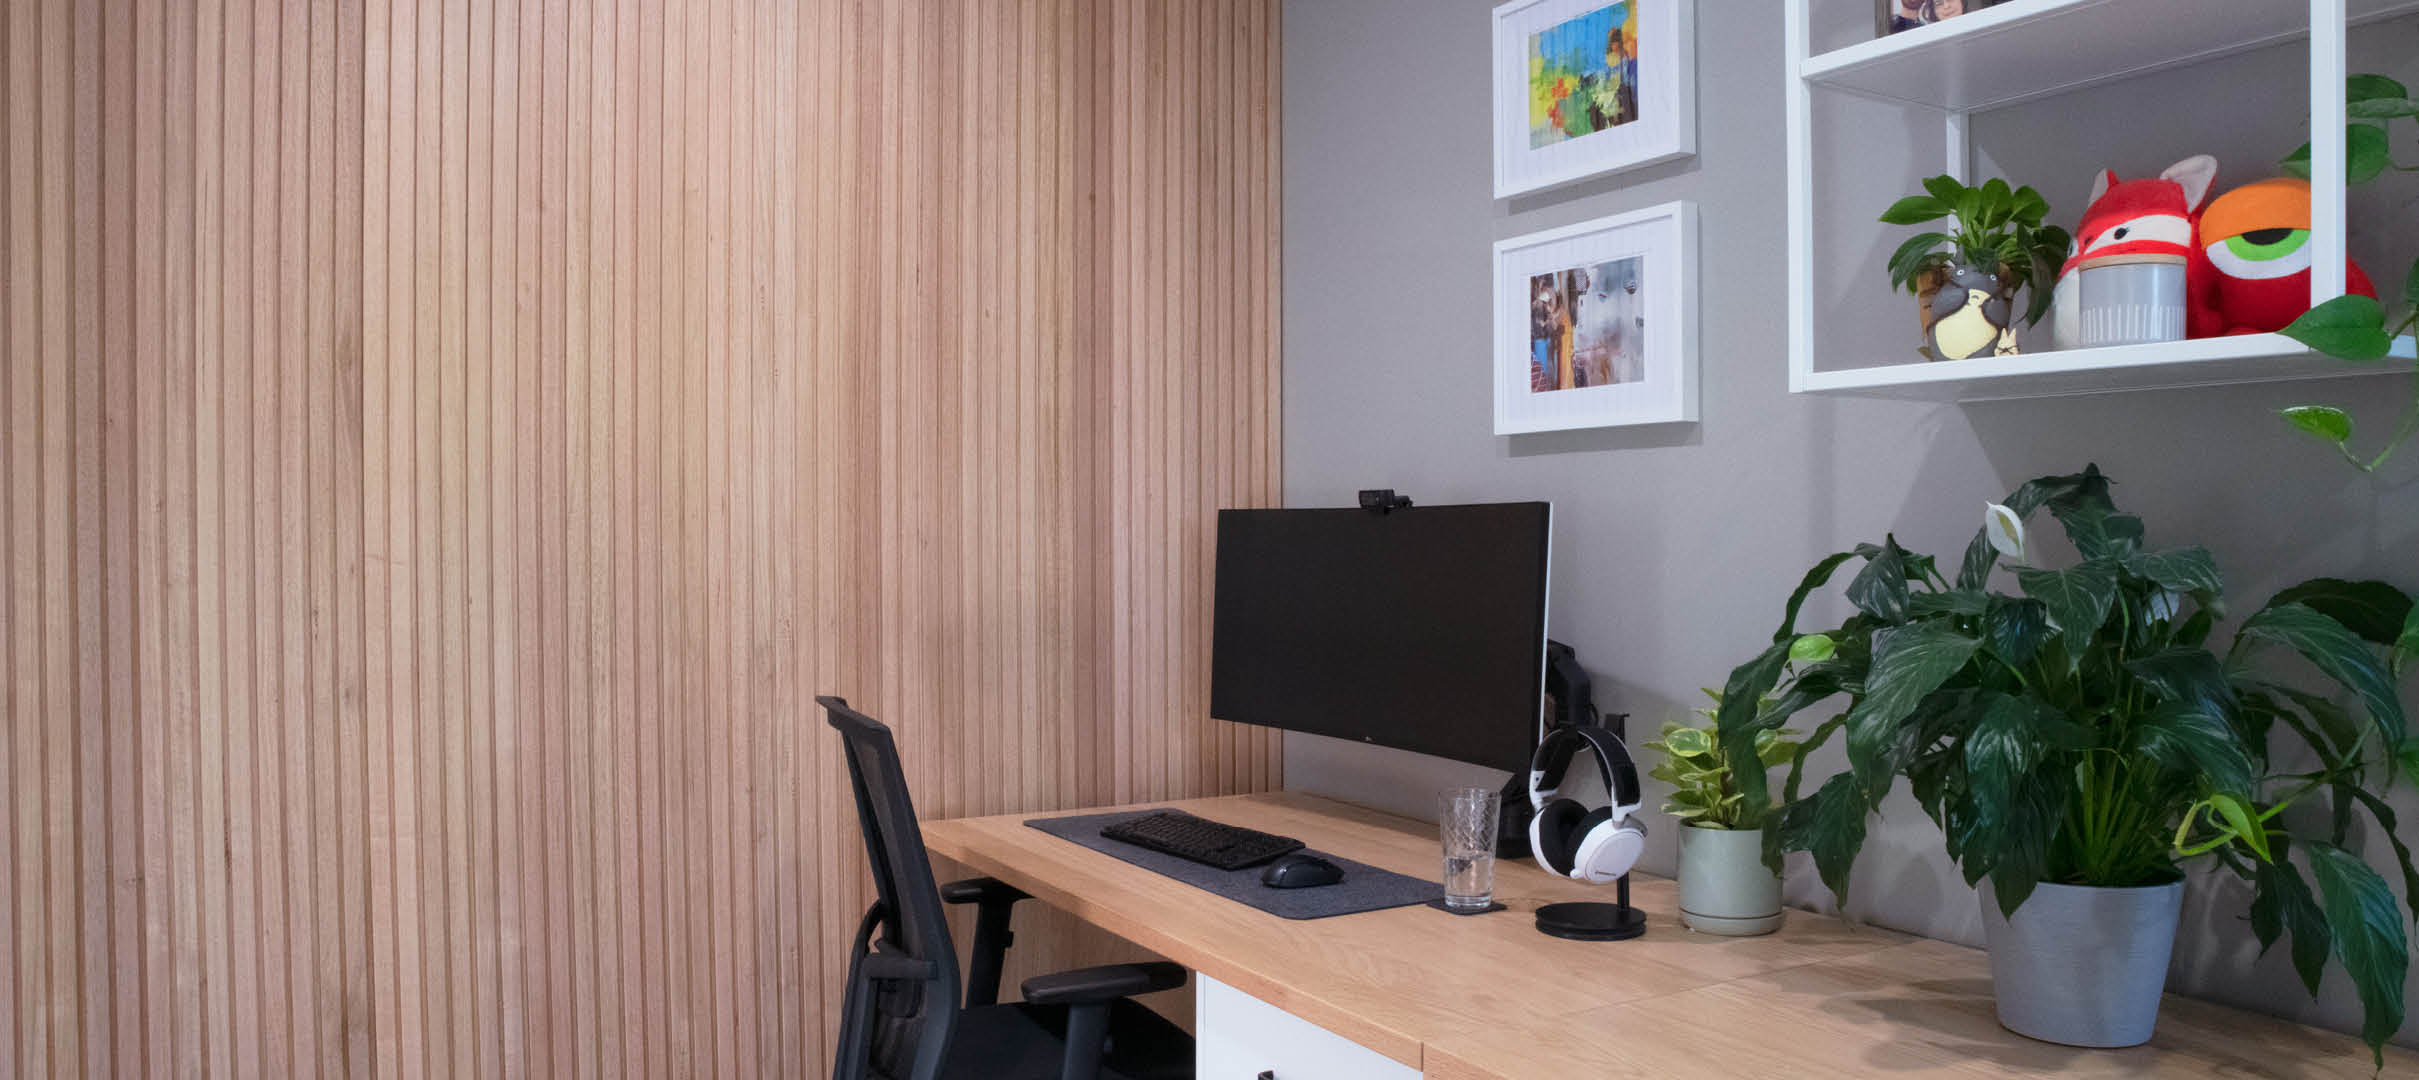
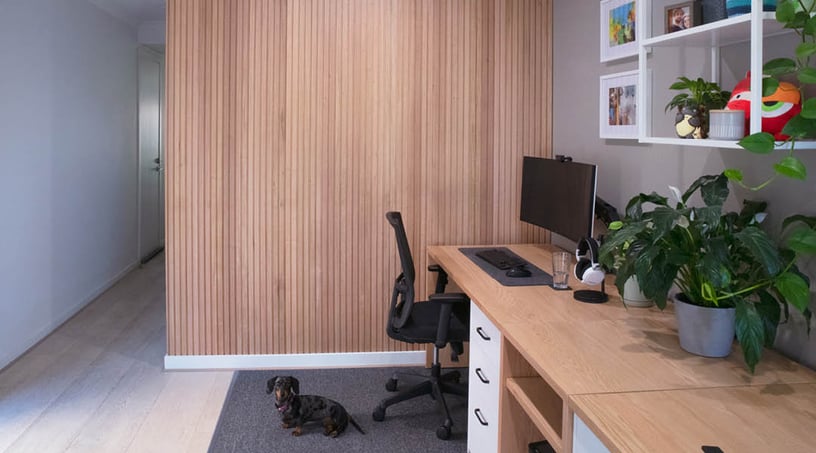
Contours are perfect as a feature in any area of your home. It can also be used to clad joinery and create concealed doorways for a seamless finish.
Porta recommends coating the lining boards on all faces and edges before installation in all areas of the home, including high-moisture areas, such as bathrooms and laundries.
Installing Porta Contours
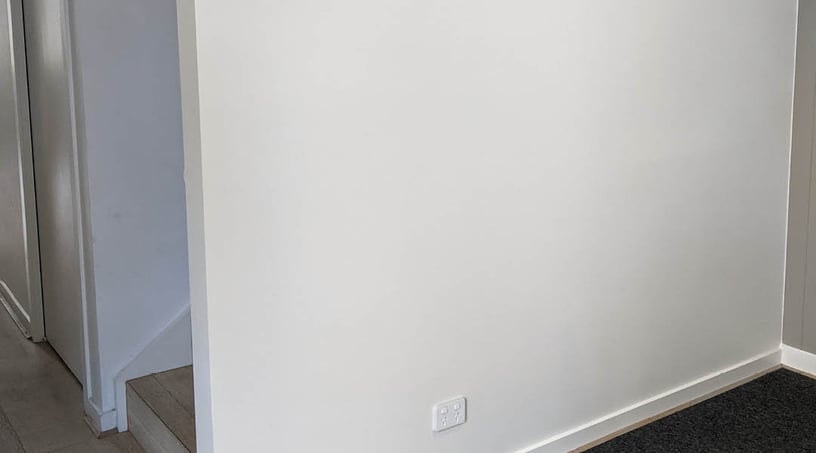
To create a stunning Porta Contours feature wall over an existing plasterboard wall, follow the step-by-step instructions below.
Step 1 – Planning
- Measure the height of the wall to work out the length of the Porta Contours timber lining boards you will need.
- Measure the width of the wall divided by the cover to work out how many lining boards you will need. (The cover of each lining board is 78mm – excluding Plateau 39 which has a cover of 39mm.)
Step 2 – Order
- Order Porta Contours through a Porta stockist or a trade merchant.
- For your closest stockist, click here.
Step 3 – Preparation

- Acclimatise the lining boards in the same space the will be installed in, for at least 48 hours after delivery.
- Ensure that the surface the lining is being fixed to is even, with a maximum tolerance of 3-4mm from flat. Use packers to ‘even’ the surface if the difference is more than this tolerance.
- Locate the studs on the wall as they will be the fixing points of the lining boards.
- The boards should be securely fixed at centres not exceeding 450mm.
- Lining boards can be fixed directly to wall surfaces.
Coating the Lining Boards
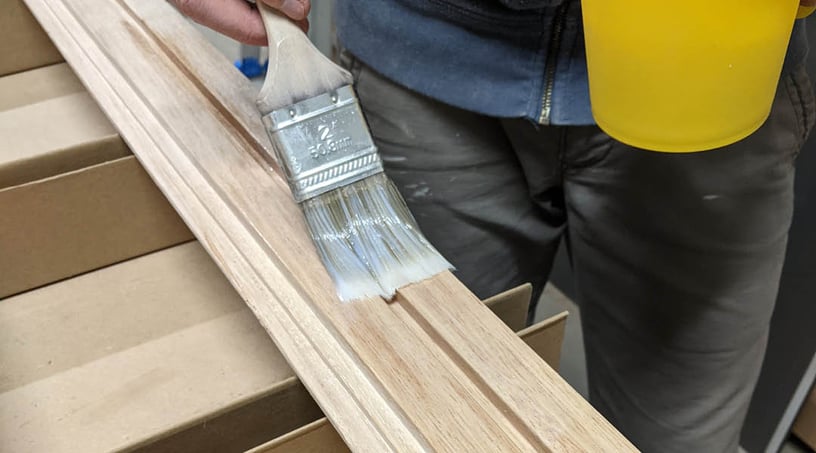
- Coat the lining boards with your chosen finish, removing any excess from the groove and tongue areas.
Remove Skirting Boards
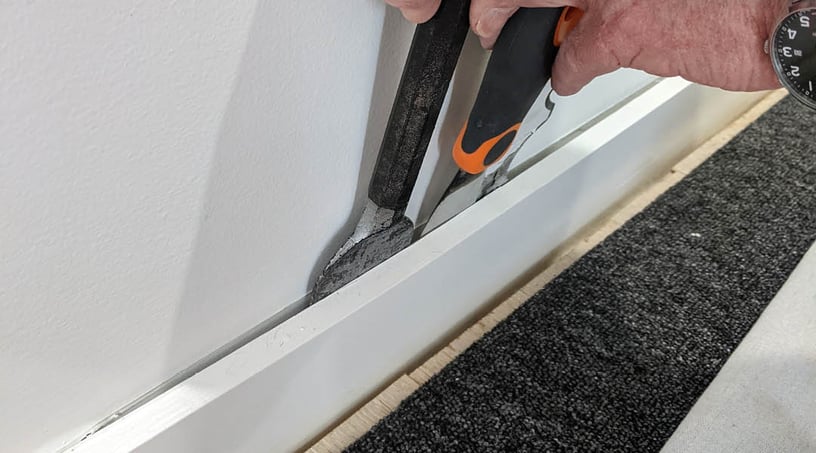
- Carefully remove skirting boards and cornicing, putting aside for reinstatement if needed.
Cut the Lining Boards to Size
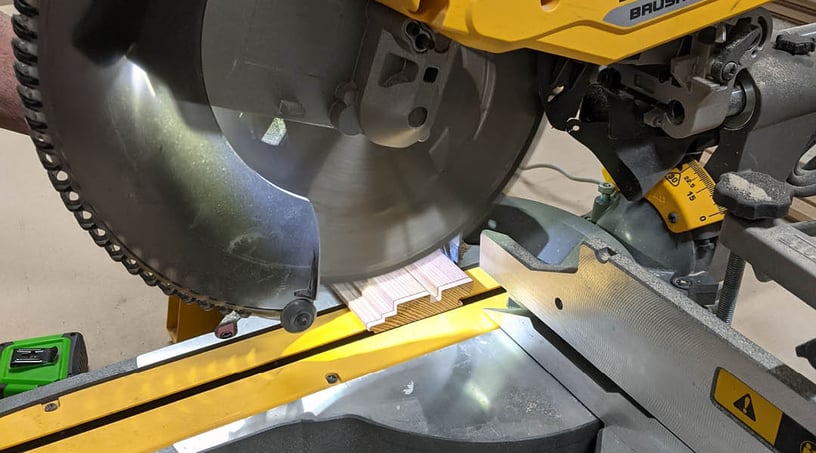
- Measure and cut the lining boards to size. Remember to double check the measurement prior to cutting.
Step 4 – Installation
Installing the First Board
- Start from one side of the installation and work across the wall.
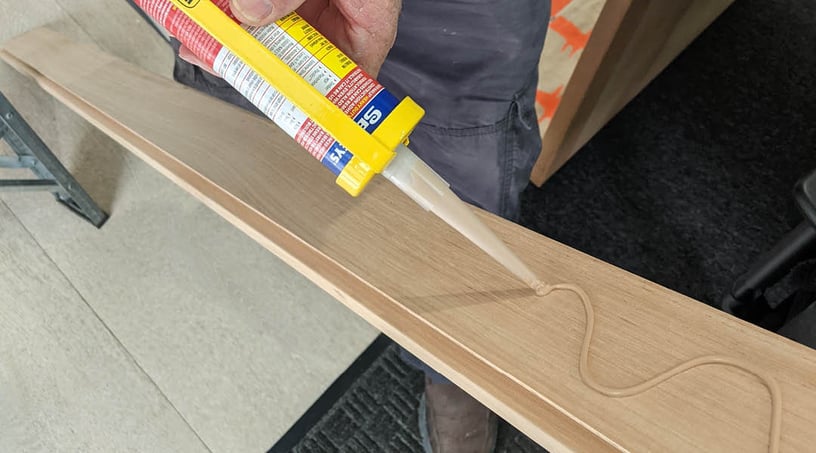
- Apply construction adhesive.
- Locate the first board and secure it by nailing through the face of the tongue side of the board.
Installing Subsequent Boards
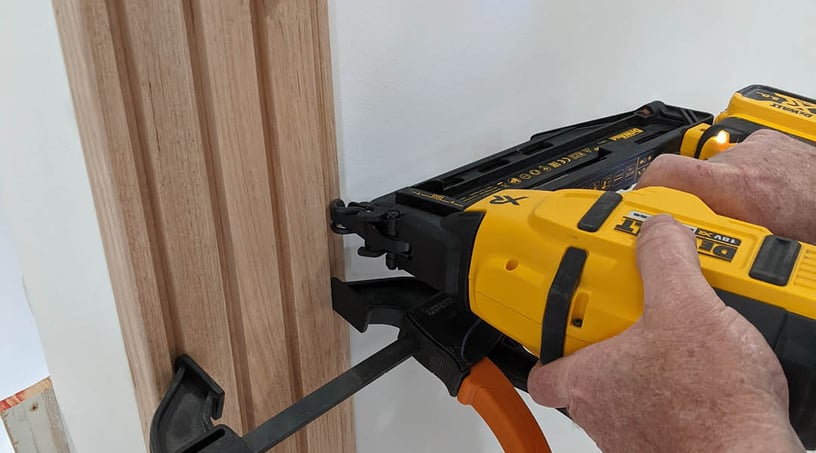
- Each following board will only need to be nailed through the tongue side when a secret fix application is used. Put the tongue nails in accurately and flush with the surface so the next board covers the head of the nail.
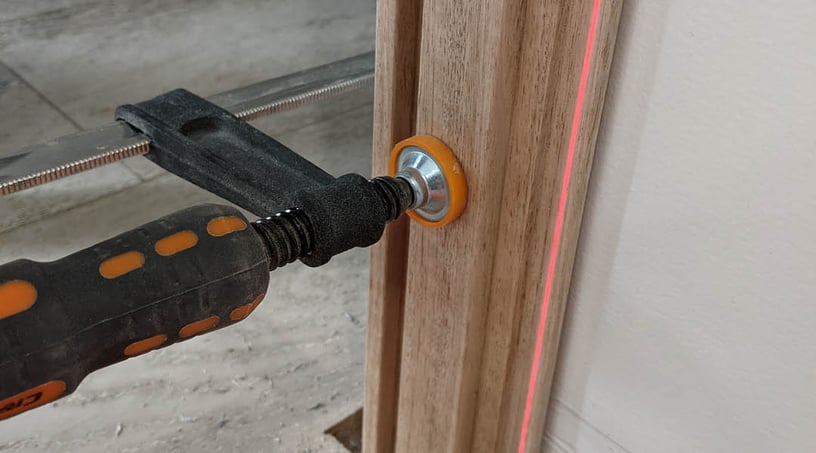
- Progressively check boards are plumb or level (as appropriate) with a spirit level. Fit each board snugly and avoid over-cramping.
- For spaces wider than 3m, an expansion joint of 10mm should be allowed.
Installing the Final Board
- Measure the area for the final board.
- If required, cut the final lining board to size and secure it by nailing through the face.
- Alternatively, fill the remaining gap with matching timber trim.
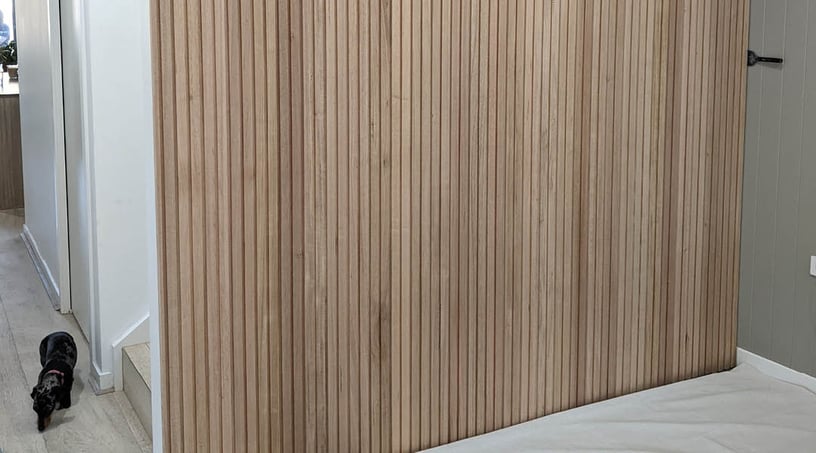
Completing Your Project
- Your Porta Contours project is now complete!
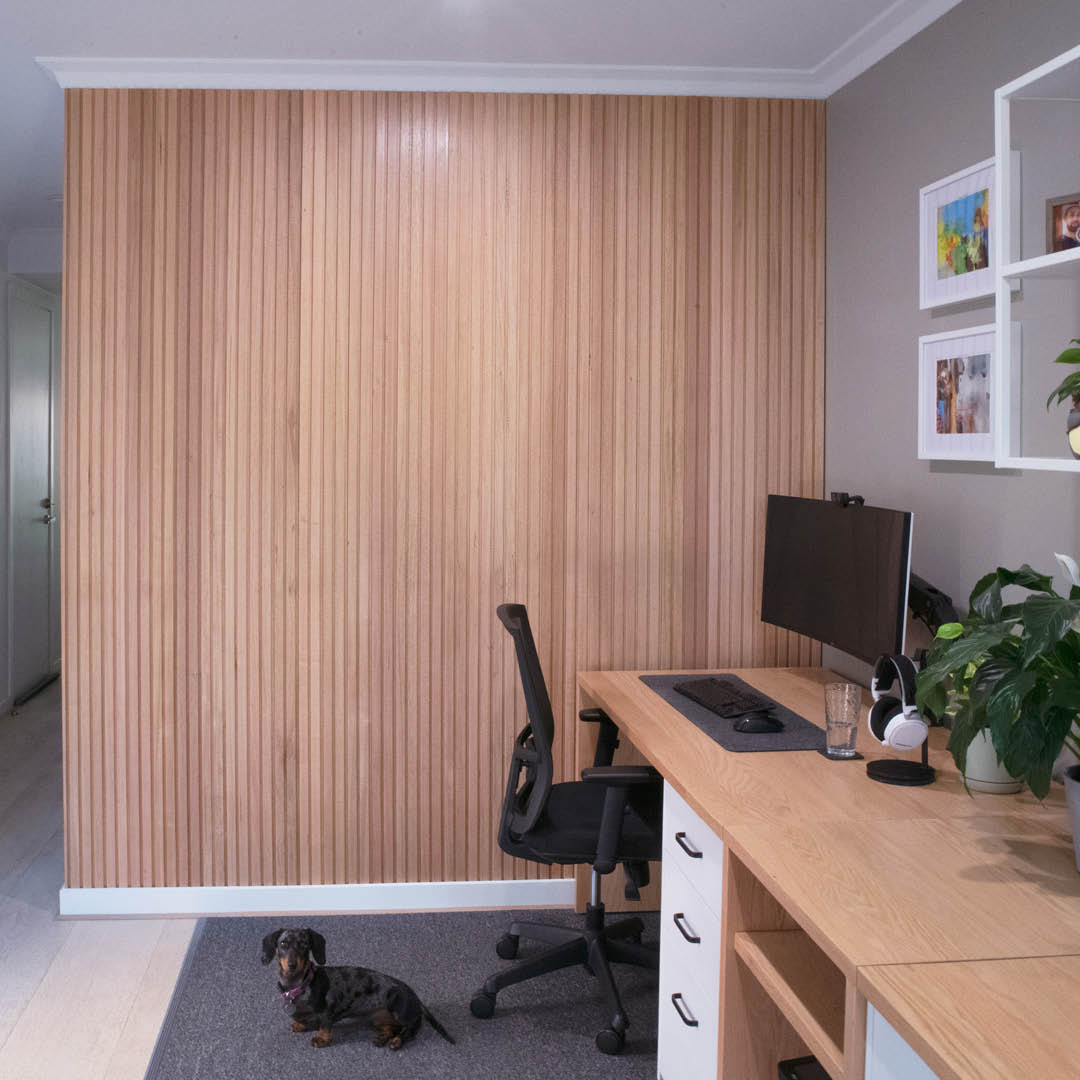
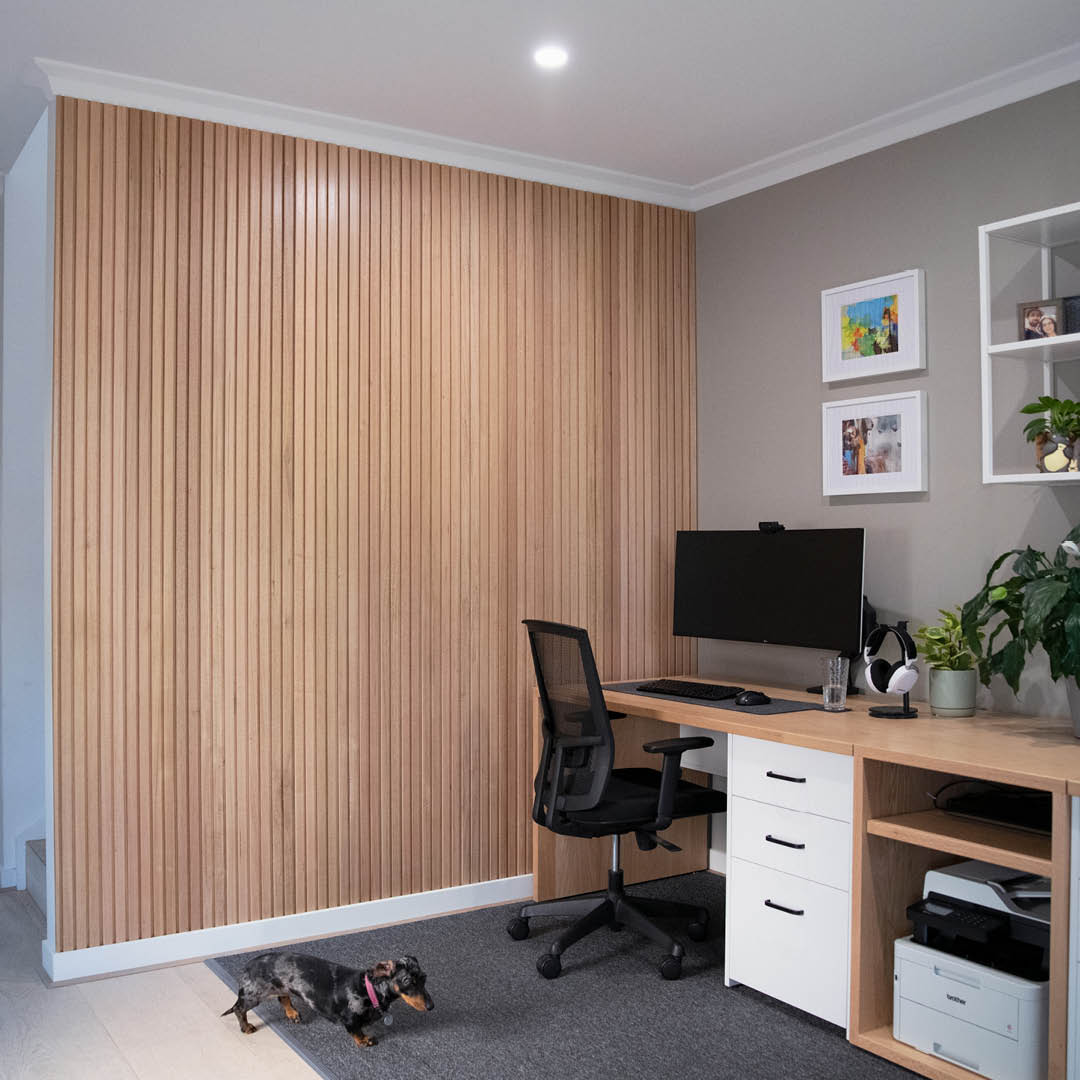
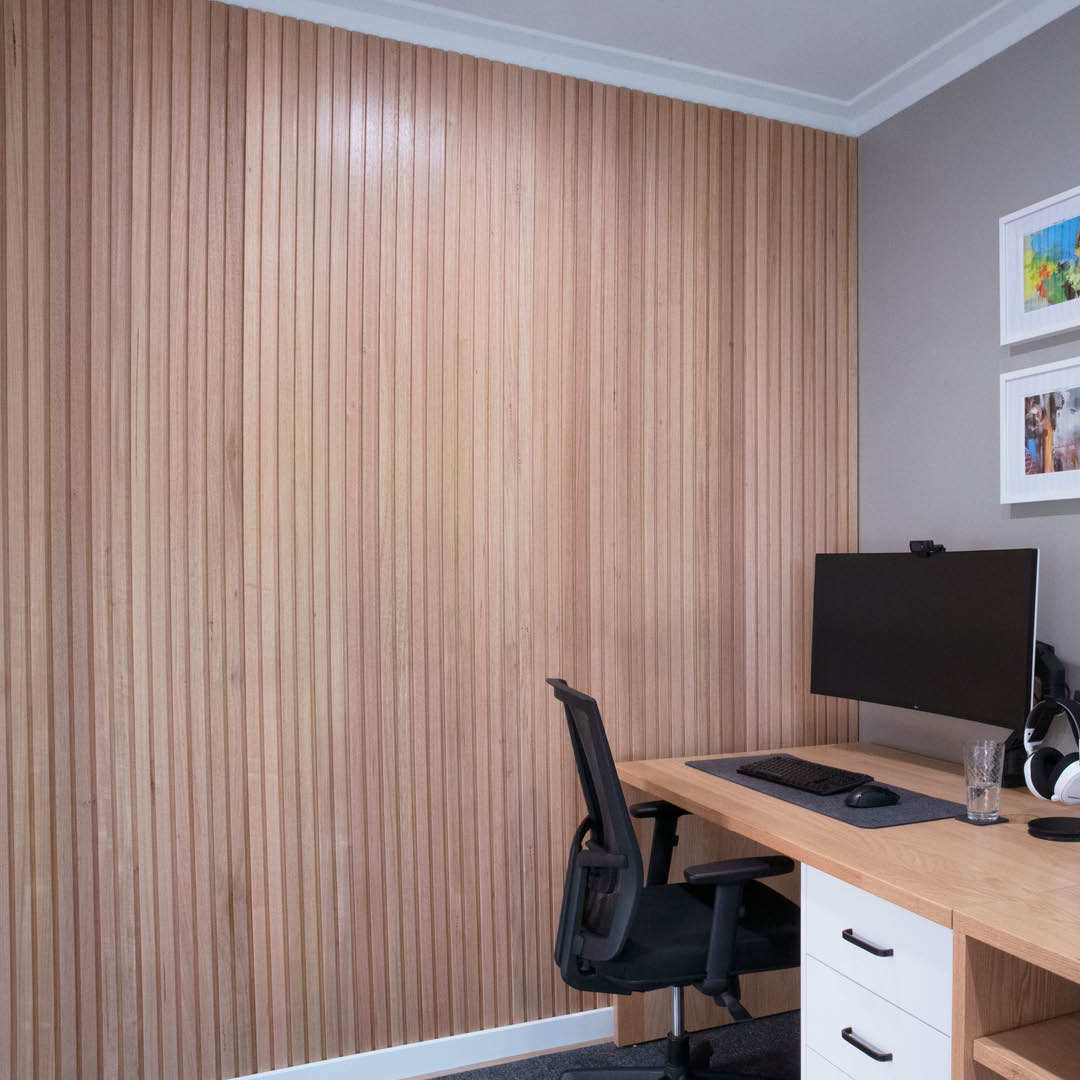
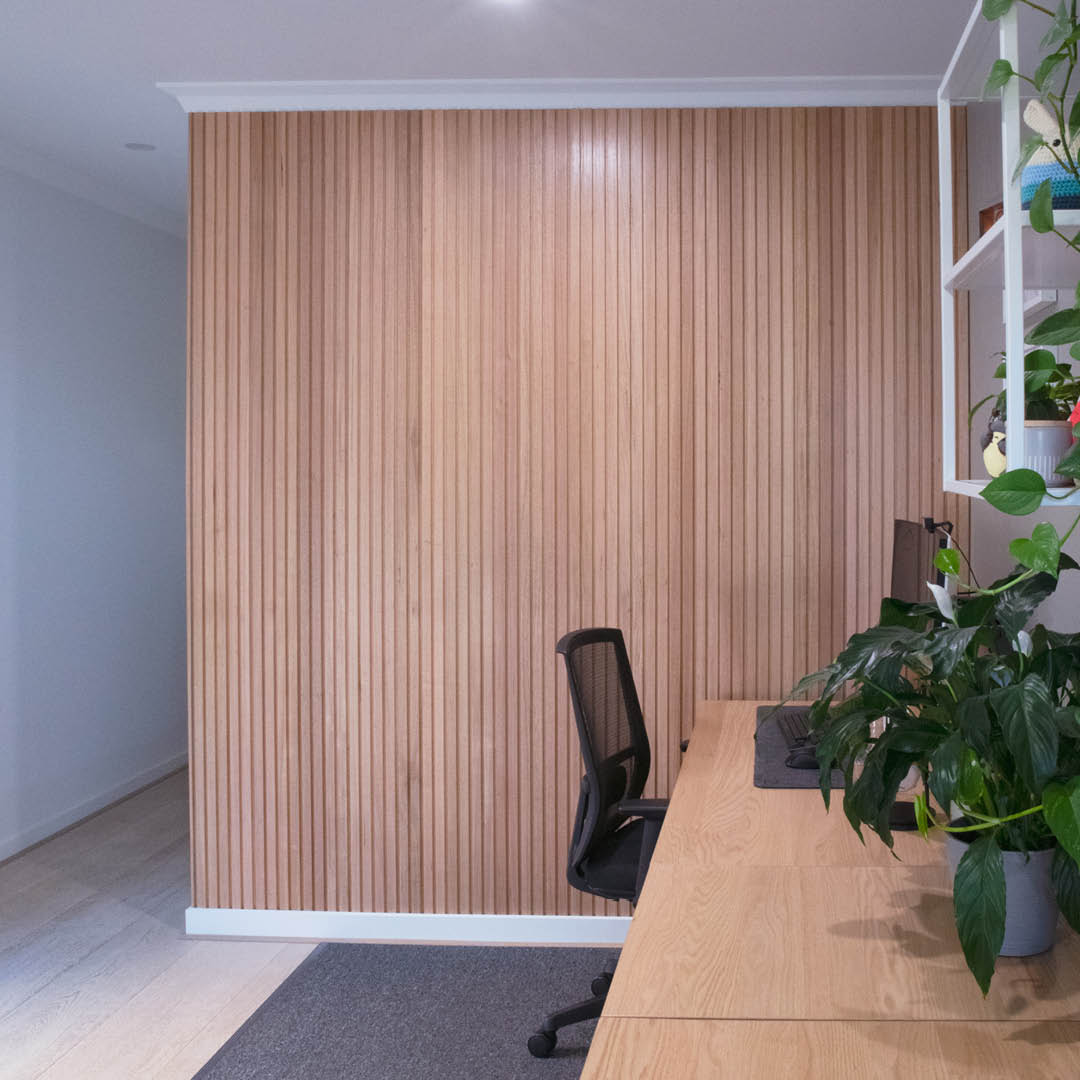
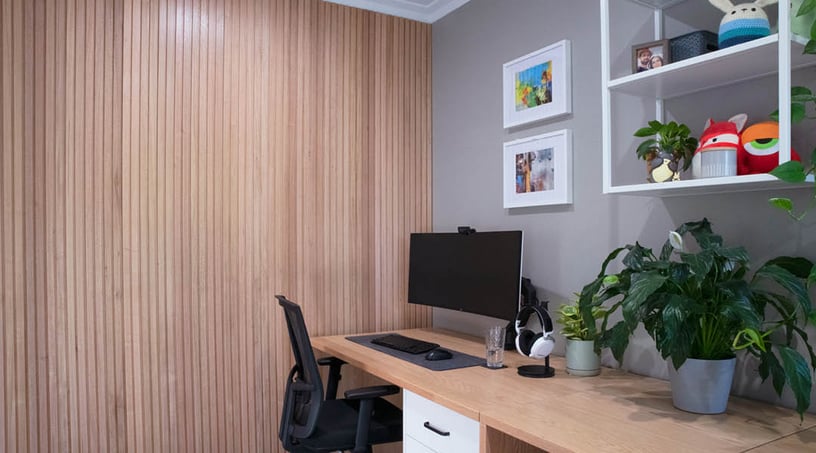
Featured Project:
Design, Build & Photography: Shaun Fox
Product: Porta Contours in Strata in Tasmanian Oak